
Intradermal injections (ID) are injections administered into the dermis, just below the epidermis. The ID injection route has the longest absorption time of all parenteral routes. These types of injections are used for sensitivity tests, such as TB, allergy, and local anesthesia tests. The advantage of these tests is that the body reaction is easy to visualize, and the degree of reaction can be assessed. The most common sites used are the inner surface of the forearm and the upper back, under the scapula.
Learning Sequence Builds Confidence
The learner practices the procedure in the ‘guided mode’ (interaction hints and an expanded checklist guide) as often as they like.
When the learner is confident that they can accurately demonstrate the procedure without error, the learner plays the level in the ‘expert mode’ (no hints or checklist explanations) - which they can repeat as often as they wish.
Finally, when the learner is confident that they have mastered the procedure - they take a one-time ‘exam’ attempt which results in their grade for that procedure.
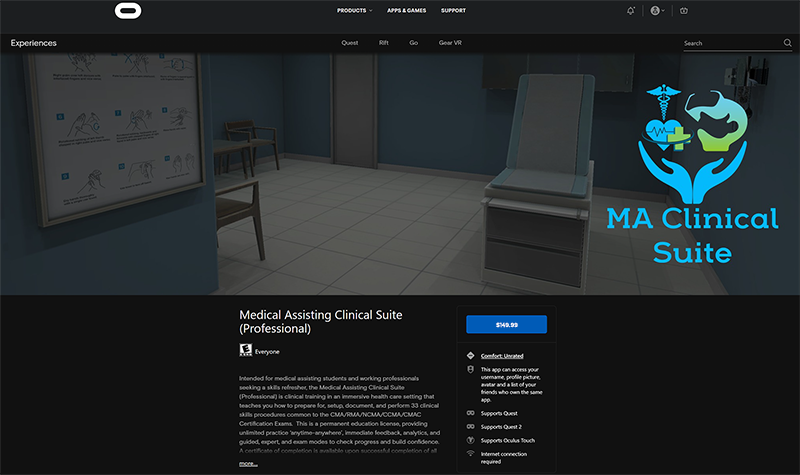
The Medical Assisting Clinical Suite (Professional) Edition is available for purchase through the Oculus AppLab for $149.99
Features
Guided Mode - ghosted hints show step-by-step positions, learner can 'see through' the patient to verify placement.
Oculus Quest Affordability & Ease of Use - next generation game development processes allow the untethered, mobile VR to present effective visual and interaction fidelity at 1/4 of the cost of desktop VR.
Feedback - Cloud-based enterprise incorporates real-time data acquisition that allows learner to track progress and mastery, and provides detailed insights for debrief with faculty.
Support - Enterprise incorporates Knowledge Base (with tutorial videos & FAQ) - combined with help desk support staff for learners and staff.
Intradermal Injections Checklist
- Prepare medication or solution as per agency policy. Ensure all medication is properly identified. Check physician orders and MAR to validate medication order and guidelines for administration.
- Perform hand hygiene.
- Enter room and introduce yourself, explain procedure and the medication, and allow patient time to ask questions.
- Close the door or pull the bedside curtains.
- Compare MAR to patient wristband and verify this is the correct patient using two identifiers.
- Assess patient for any contraindications to the medications.
- Select appropriate site for administration. Assist the patient to the appropriate position as required.
- Perform hand hygiene and apply non-sterile gloves.
- Clean the site with an alcohol swab or antiseptic swab. Use a firm, circular motion. Allow the site to dry.
- Remove needle from cap by pulling it off in a straight motion.
- Using non-dominant hand, spread the skin taut over the injection site.
- Hold the syringe in the dominant hand between the thumb and forefinger, with the bevel of the needle up.
- Hold syringe at a 5- to 15-degree angle from the site. Place the needle almost flat against the patient’s skin, bevel side up, and insert needle into the skin. Insert the needle only about 1/4 in., with the entire bevel under the skin.
- Once syringe is in place, slowly inject the solution while watching for a small weal or bleb to appear.
- Withdraw the needle at the same angle as insertion, engage safety shield or needle guard, and discard in a sharps container. Do not massage area after injection.
- If injection is a TB skin test, circle the area around the injection site to allow for easy identification of site in three days.
- Discard remaining supplies, remove gloves, and perform hand hygiene.
- Document the procedure and findings according to policy.
- Evaluate the patient response to injection within appropriate time frame.