Intramuscular (IM) injections deposit medications into the muscle fascia, which has a rich blood supply, allowing medications to be absorbed faster through muscle fibers than they are through the subcutaneous route. The IM site is used for medications that require a quick absorption rate but also a reasonably prolonged action. Due to their rich blood supply, IM injection sites can absorb larger volumes of solution, which means a range of medications, such as sedatives, antiemetics, hormonal therapies, analgesics, and immunizations, can be administered intramuscularly in the community and acute care setting. In addition, muscle tissue is less sensitive than subcutaneous tissue to irritating solutions and concentrated and viscous medications.
The technique of IM injections has changed over the past years due to evidence-based research and changes in equipment available for the procedure. An IM site is chosen based on the age and condition of the patient and the volume and type of medication injected. When choosing a needle size, the weight of the patient, age, amount of adipose tissue, medication viscosity, and injection site all influence the needle selection.
Intramuscular injections must be done carefully to avoid complications. Complications with IM include muscle atrophy, injury to bone, cellulitis, sterile abscesses, pain, and nerve injury. With IMs, there is an increased risk of injecting the medication directly into the patient’s bloodstream. In addition, any factors that impair blood flow to the local tissue will affect the rate and extent of drug absorption. Because of the adverse and documented effects of pain associated with IM injections, always use this route of administration as a last alternative; consider other methods first.
Learning Sequence Builds Confidence
The learner practices the procedure in the ‘guided mode’ (interaction hints and an expanded checklist guide) as often as they like.
When the learner is confident that they can accurately demonstrate the procedure without error, the learner plays the level in the ‘expert mode’ (no hints or checklist explanations) - which they can repeat as often as they wish.
Finally, when the learner is confident that they have mastered the procedure - they take a one-time ‘exam’ attempt which results in their grade for that procedure.
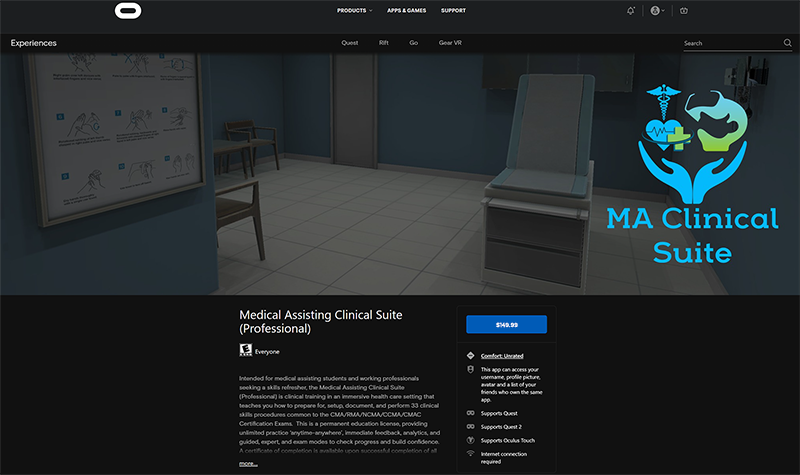
The Medical Assisting Clinical Suite (Professional) Edition is available for purchase through the Oculus AppLab for $149.99
Features
Guided Mode - ghosted hints show step-by-step positions, learner can 'see through' the patient to verify placement.
Oculus Quest Affordability & Ease of Use - next generation game development processes allow the untethered, mobile VR to present effective visual and interaction fidelity at 1/4 of the cost of desktop VR.
Feedback - Cloud-based enterprise incorporates real-time data acquisition that allows learner to track progress and mastery, and provides detailed insights for debrief with faculty.
Support - Enterprise incorporates Knowledge Base (with tutorial videos & FAQ) - combined with help desk support staff for learners and staff.
Intramuscular Injections Checklist
- Perform hand hygiene.
- Compare MAR to patient wristband and use two patient identifiers to confirm patient.
- Assess the patient’s symptoms, knowledge of the medication to be received, history of allergies, drug allergies, and types of allergic reactions.
- Assess for any factors that may contraindicate an IM injection.
- Verify practitioner’s order and MAR.
- Review medication information, such as purpose, action, side effects, normal dose, rate of administration, time of onset, peak and duration, and nursing implications.
Assemble supplies. - Prepare medication from an ampule or a vial as per hospital policy. Always compare MAR to the practitioner’s original orders to ensure accuracy and completeness. NEVER leave the medication unsupervised once prepared.
- Perform hand hygiene.
- Close curtains or door.
- Verify patient using two unique identifiers and compare to MAR.
- Explain the procedure and the medication, and give the patient time to ask questions.
- Don non-sterile gloves and prepare the patient in the correct position. Ensure a sharps disposal container is close by for disposal of needle after administration.
- Locate correct site using landmarks, and clean area with alcohol or antiseptic swab. Allow site to dry completely.
- Place a clean swab or dry gauze between your third and fourth fingers.
- Remove needle cap by pulling it straight off the needle. Hold syringe between thumb and forefinger on dominant hand as if holding a dart.
- With non-dominant hand, hold the skin around the injection site.
- With the dominant hand, inject the needle quickly into the muscle at a 90-degree angle, using a steady and smooth motion.
- After the needle pierces the skin, use the thumb and forefinger of the non-dominant hand to hold the syringe.
- If required by agency policy, aspirate for blood. If no blood appears, inject the medication slowly and steadily. If blood appears, discard syringe and needle, and prepare the medication again.
- Once medication is completely injected, remove the needle using a smooth, steady motion. Remove the needle at the same angle at which it was inserted.
- Cover injection site with sterile gauze, using gentle pressure, and apply Band-Aid as required.
- Place safety shield on needle and discard syringe in appropriate sharps container.
- Discard supplies, remove gloves, and perform hand hygiene.
- Document procedure as per policy.
- Assess patient’s response to the medication after the appropriate time frame.

