
A medical assistant may be asked to perform pre-surgery skin preparation. This skill lab teaches you how to prepare for, setup, document, and perform skin preparation for minor surgical procedures.
The skin preparation procedure requires preparing the room and equipment, and cleansing scrub, draping, and painting the site with antiseptic.
This procedure is based on the entry-level competencies for which the Commission on Accreditation of Allied Health Education Programs (CAAHEP) and Accrediting Bureau of Health Education Schools (ABHES) test the Medical Assistant.
Learning Sequence Builds Confidence
The learner practices the procedure in the ‘guided mode’ (interaction hints and an expanded checklist guide) as often as they like.
When the learner is confident that they can accurately demonstrate the procedure without error, the learner plays the level in the ‘expert mode’ (no hints or checklist explanations) - which they can repeat as often as they wish.
Finally, when the learner is confident that they have mastered the procedure - they take a one-time ‘exam’ attempt which results in their grade for that procedure.
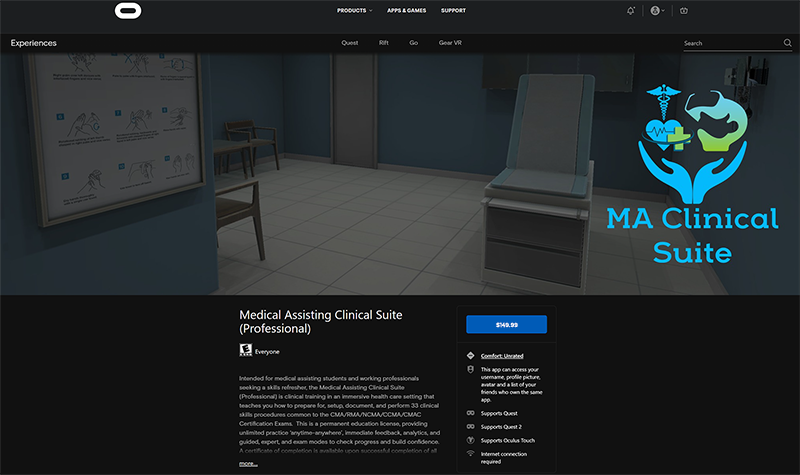
The Medical Assisting Clinical Suite (Professional) Edition is available for purchase through the Oculus AppLab for $149.99
Features
Guided Mode - ghosted hints show step-by-step positions, learner can 'see through' the patient to verify placement.
Oculus Quest Affordability & Ease of Use - next generation game development processes allow the untethered, mobile VR to present effective visual and interaction fidelity at 1/4 of the cost of desktop VR.
Feedback - Cloud-based enterprise incorporates real-time data acquisition that allows learner to track progress and mastery, and provides detailed insights for debrief with faculty.
Support - Enterprise incorporates Knowledge Base (with tutorial videos & FAQ) - combined with help desk support staff for learners and staff.
Skin Preparation for Minor Surgical Procedures Checklist
- Perform hand hygiene; gather supplies.
- Ensure surgery room is warm, well lit, and private.
- Introduce yourself, explain the procedure, and check that the consent form has been correctly completed. Answer any questions that the patient may have about the procedure.
- Ask the patient to change into a gown.
- Expose the site for surgery. Assist the patient to the appropriate position as required.
- Place disposable drape under the region to be prepared.
- Ensure that a waste receptacle is nearby for collecting any used equipment
- Put on nonsterile gloves and remove any gross contamination on the site if necessary.
- Shave hair at the site if necessary, use electric clippers.
- Discard nonsterile gloves and repeat handwashing.
- Don sterile gloves.
- Open the outer layer.
- Use the transfer forceps to open the inner layer of the pack.Arrange the small bowls within the pack on the sterile drape appropriately.
- Fill one bowl with surgical soap, one with antiseptic solution, and the other with sterile saline.
- Clean the site with an alcohol swab or antiseptic swab. Use a firm, circular motion starting from the center and moving out. After one complete swipe, discard swab and use a new swab for each swipe. Repeat the process for 5 minutes.
- Allow the site to dry.
- If hair is present, the area may need to be shaved. Hold the skin and shave in the direction of growth. Immediately after completion, dispose of the razor in the sharps bin.
- After shaving, scrub the skin a second time.
- Rinse the area with sterile normal saline solution.
- Dry the area by blotting with a sterile gauze, using the same circular motion.
- Paint the antiseptic onto the area with antiseptic swabs using the same circular technique.
- Place a sterile drape over the area.
- After the procedure is over, discard remaining supplies, remove gloves, and perform hand hygiene.
- Document the procedure and findings according to agency policy.