
One of the most important skills a medical assistant may be responsible for is collecting blood samples for testing.
Phlebotomy, or venipuncture, is the art of drawing blood from a vein with a needle and special collection vials. It’s a highly technical clinical skill that requires good judgment and the ability to make clients feel at ease. Among the wide range of a medical assistant’s responsibilities, drawing blood is among the most essential.
This procedure is based on the entry-level competencies for which the Commission on Accreditation of Allied Health Education Programs (CAAHEP) and Accrediting Bureau of Health Education Schools (ABHES) test the Medical Assistant.
Learning Sequence Builds Confidence
The learner practices the procedure in the ‘guided mode’ (interaction hints and an expanded checklist guide) as often as they like.
When the learner is confident that they can accurately demonstrate the procedure without error, the learner plays the level in the ‘expert mode’ (no hints or checklist explanations) - which they can repeat as often as they wish.
Finally, when the learner is confident that they have mastered the procedure - they take a one-time ‘exam’ attempt which results in their grade for that procedure.
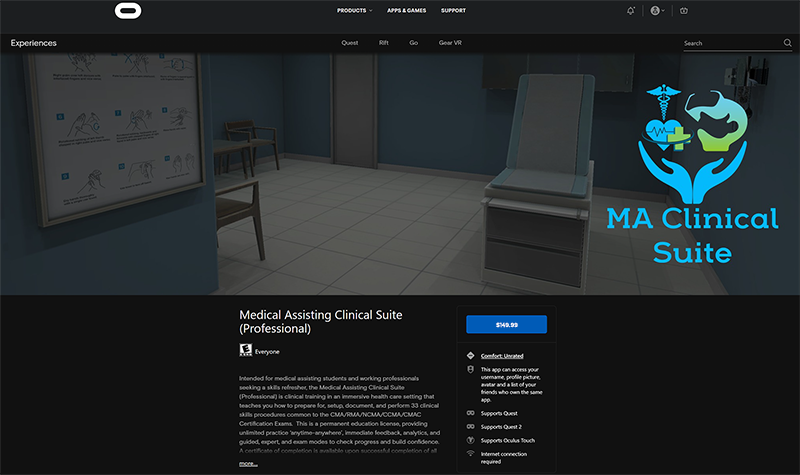
The Medical Assisting Clinical Suite (Professional) Edition is available for purchase through the Oculus AppLab for $149.99
Features
Guided Mode - ghosted hints show step-by-step positions, learner can 'see through' the patient to verify placement.
Oculus Quest Affordability & Ease of Use - next generation game development processes allow the untethered, mobile VR to present effective visual and interaction fidelity at 1/4 of the cost of desktop VR.
Feedback - Cloud-based enterprise incorporates real-time data acquisition that allows learner to track progress and mastery, and provides detailed insights for debrief with faculty.
Support - Enterprise incorporates Knowledge Base (with tutorial videos & FAQ) - combined with help desk support staff for learners and staff.
Perform Venipuncture Checklist
- Review the laboratory requisition form.
- Gather supplies.
- Collect venipuncture supplies in a tray.
- Perform hand hygiene; don gloves and lab coat.
- Attach appropriate needle and syringe.
- For vacuum technique, select appropriate multicollection needle and attach the shorter end on the needle holder tube.
- For butterfly needle technique, select appropriate butterfly needle and unwind tubing before attaching to needle holder tube.
- Call the patient to the treatment room, introduce yourself, ask them to identify themselves with their full name and date of birth, explain the procedure and ask if they have any allergies. If the test requires fasting, confirm this with the patient. Obtain verbal consent and allow patient time to ask questions.
- Ask the patient to sit in a chair.
- Assist the patient to the appropriate position as required.
- Expose the intended puncture site. Inspect both arms if necessary to ensure the best site is selected.
- Apply the tourniquet 3-4 inches above the patient’s elbow.
- Ask the patient to make a fist.
- Palpate the vein using the index finger to determine the best site for needle insertion.
- If using the dorsum hand position for butterfly needle insertion, place the tourniquet 3-4 inches above the patient’s wrist.
- Clean the site with an alcohol swab or antiseptic swab. Use a firm, circular motion. Allow the site to dry.
- Remove plastic cap over needle and hold bevel up.
- Using non-dominant hand, spread the skin taut over the injection site.
- Hold the syringe in the dominant hand between the thumb and forefinger, with the bevel of the needle up.
- Holding the syringe in line with the vein, use a quick, small thrust to penetrate the skin and enter the vein in one smooth motion.
- Holding the hub securely, insert the first vacutainer tube following proper order of draw into the large end of the hub penetrating the stopper. Blood should flow into the evacuated tube.
- After blood starts to flow, release the tourniquet and ask the patient to open his or her hand.
- When blood flow stops, remove the tube by holding the hub securely and pulling the tube off the needle
- Gently invert each tube:Light blue top- invert 3-4 times
Red and gold tops invert 5 times.
All other tubes containing an additive should be gently inverted 8-10 times. - Place a gauze pad over the puncture site and remove the needle.
- Activate the safety device and properly dispose of the vacutainer holder with needle attached into a sharps container.
- When bleeding stops, apply a fresh bandage, gauze or tape.
- Tubes must be positively identified after filling with a firmly attached patient label.
- Ask the patient or donor how they are feeling. Check the insertion site to verify that it is not bleeding, then thank the patient and say something reassuring and encouraging before the person leaves.
- Pack laboratory samples safely in a plastic leak-proof bag with an outside compartment for the laboratory request form. Placing the requisition on the outside helps avoid contamination. If there are multiple tubes, place them in a rack or padded holder to avoid breakage during transportation.
- If blood spillage has occurred (e.g. because of a laboratory sample breaking in the phlebotomy area or during transportation, or excessive bleeding during the procedure), clean it up.
- Discard remaining supplies, remove gloves, and perform hand hygiene.
- Document the procedure and findings according to agency policy.